Welcome to your new secret weapon for dessert dominance—this insanely easy Apple Crumble recipe is about to revolutionize your sweet game! Perfect for summer, fall, and every season in between, this recipe is not just delicious; it’s also a breeze to whip up. Forget the complicated prep and hours in the kitchen; I’m here to guide you through a foolproof method that delivers maximum impact with minimal effort. Let’s dive into why this recipe is the ultimate hack for impressing your friends and family!
Why You’ll Love This Recipe
Here are five irresistible reasons why this Apple Crumble is a must-try:
- Quick and Easy: With just a handful of ingredients and minimal prep time, you’ll be enjoying a warm, comforting dessert in no time.
- Versatile Delight: This recipe can easily adapt to your dietary needs—think gluten-free, dairy-free, or even vegan with a few simple swaps!
- Perfect for Leftovers: Use those leftover apples from your fruit bowl or last week’s grocery haul—no waste here!
- Impressive Presentation: Serve it warm with a scoop of vanilla ice cream or whipped cream, and watch your guests’ jaws drop.
- Make-Ahead Magic: Prepping this crumble in advance means less stress and more fun at your next gathering!
Ingredients Breakdown
Let’s get down to business with a detailed look at what you’ll need:
- 4 cups of peeled and sliced apples: Use your favorite variety—Honeycrisp, Granny Smith, or whatever’s on hand!
- 1 cup of granulated sugar: For that sweet, sweet flavor we all crave.
- 1 teaspoon of cinnamon: A dash of spice makes everything nice!
- 1 tablespoon of lemon juice: Brightens up the apples and keeps them from browning.
- 1 cup of rolled oats: Adds a chewy texture that contrasts beautifully with the soft apples.
- 1 cup of all-purpose flour: Helps bind the crumble topping together.
- 1/2 cup of brown sugar: For that extra depth of flavor and moisture.
- 1/2 cup of unsalted butter, softened: The glue that holds your crumble together.
- 1/4 teaspoon of salt: Enhances all the flavors.
Pro Tips for Success
Want to elevate your Apple Crumble game? Check out these expert insights:
- Choose the Right Apples: A mix of tart and sweet apples creates the perfect flavor balance.
- Texture Matters: For a crunchier topping, bake a bit longer and don’t skimp on the oats.
- Room Temperature Ingredients: Ensure your butter is softened for easy mixing—cold butter makes for a tough topping.
- Experiment with Spices: Swap out cinnamon for nutmeg or ginger for a new twist!
- Don’t Overmix: When combining the crumble ingredients, just blend until crumbly—overmixing can lead to a tough topping.
- Serving Temperature: This dessert is best served warm—reheat leftovers in the oven for that fresh-out-of-the-oven vibe.
- Add a Splash of Flavor: A splash of vanilla extract in the apple mixture can amp up the flavor profile.
- Layering is Key: Spread the apple mixture evenly in the baking dish for uniform cooking.
- Use a Deep Dish: A deeper baking dish helps the apples cook evenly without burning the topping.
- Make It Your Own: Mix in some nuts or dried fruit for added texture and flavor!
Common Mistakes and Troubleshooting
Even the best of us can hit a snag in the kitchen. Here’s how to avoid common pitfalls:
- Too Watery: If your crumble is too wet, try using less sugar or adding more flour to the topping.
- Burnt Topping: Cover the dish with foil halfway through baking if the topping is browning too quickly.
- Apples Too Firm: If your apples aren’t softening, they might need more cooking time—just keep an eye on them!
- Not Enough Flavor: Don’t shy away from adding a pinch more cinnamon or lemon juice to enhance the overall taste.
Variations to Try
Get creative with these fun variations:
- Berry Crumble: Swap out half the apples for a mix of berries for a fruity twist!
- Peachy Keen: Use peaches instead of apples for a summery delight.
- Nuts About It: Incorporate chopped nuts like pecans or walnuts for an extra crunch.
- Spiced Up: Add a pinch of cardamom or allspice for an aromatic kick.
Storage and Make-Ahead Instructions
Want to prep this dessert in advance? Here’s how to do it:
- Make Ahead: Assemble the crumble and store it in the fridge for up to 24 hours before baking.
- Leftover Storage: Store any leftovers in an airtight container in the fridge for up to 5 days.
- Freezing: Freeze unbaked crumbles for up to 3 months. Just add a few extra minutes to the baking time when you’re ready to bake.
Comprehensive FAQ
Got questions? Here are some answers:
- Can I use frozen apples? Yes, but thaw and drain excess moisture before using.
- Can I make this gluten-free? Absolutely! Substitute all-purpose flour with a gluten-free blend.
- What type of apples are best? A mix of sweet and tart apples works wonders!
- How do I keep my crumble from getting soggy? Ensure your apple mixture isn’t too wet before adding the topping.
- Can I use a different sweetener? Yes! Maple syrup or honey can be great substitutes for sugar.
- How long does it take to bake? Typically, 30-35 minutes or until the topping is golden brown.
- What can I serve with it? A scoop of vanilla ice cream or whipped cream takes it over the top!
- Can I double the recipe? Yes, just use a larger baking dish and increase baking time slightly.
Nutrition Tips and Dietary Adaptations
Want to make this recipe fit your nutritional goals? Here are some adaptations:
- Lower Sugar: Reduce sugar or use a sugar substitute to cut calories.
- Vegan Option: Replace butter with coconut oil or a vegan butter alternative.
- High Fiber: Add chia seeds or flaxseeds to the topping for a fiber boost.
Equipment Recommendations
Here’s what you’ll need to get started:
- Mixing Bowls: A good set of mixing bowls is essential for combining ingredients.
- Baking Dish: Use a 9×13 inch dish for optimal baking results.
- Measuring Cups and Spoons: Precise measurements lead to perfect results!
Serving Suggestions
Presentation is key! Here’s how to serve your Apple Crumble:
- Warm Up: Serve immediately from the oven for that fresh-baked aroma.
- Top It Off: A scoop of vanilla ice cream or a dollop of whipped cream makes it extra special.
- Garnish: Fresh mint leaves or a sprinkle of cinnamon can add that finishing touch!
Conclusion
There you have it—the ultimate easy apple crumble recipe that proves you can have your dessert and eat it too without the fuss! Whether you’re hosting a dinner party or simply treating yourself after a long day, this recipe is your go-to for satisfying your sweet tooth with style. So grab your apples, channel your inner chef, and get ready to impress. Happy baking!
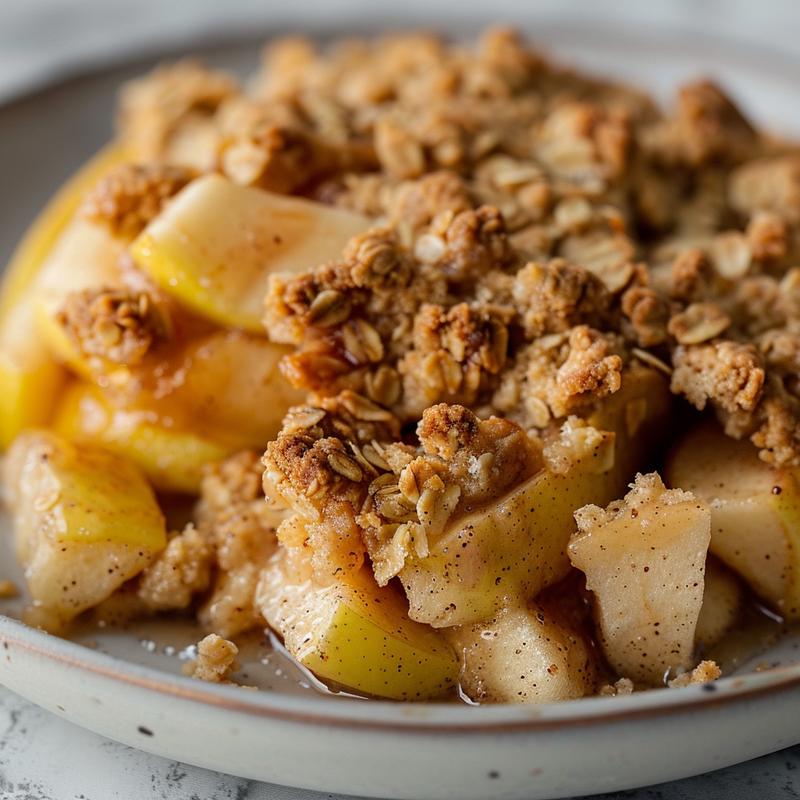

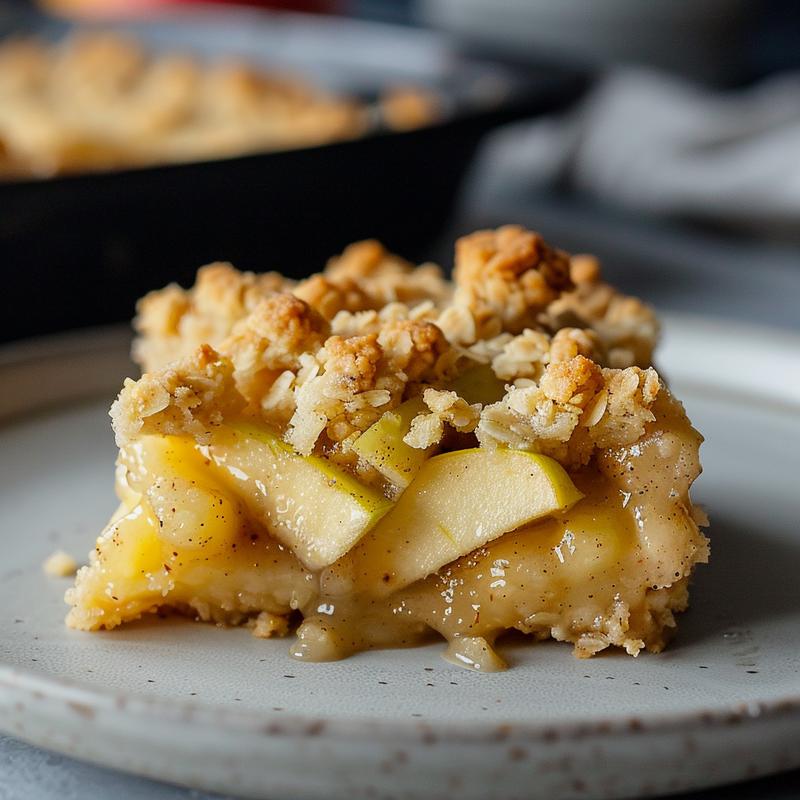
This easy Apple Crumble recipe is a delicious way to sweeten your summer, fall and beyond!
Ingredients
Method
- Preheat oven to 350°F (175°C).
- Mix apples with sugar, cinnamon, and lemon juice.
- Combine oats, flour, brown sugar, and salt.
- Add butter and blend until crumbly.
- Spread apples in a baking dish and top with crumble.
- Bake for 30-35 minutes until golden and bubbly.
Notes
Loved this recipe? Save it to your favorite Pinterest board so you can easily find it later! ✨