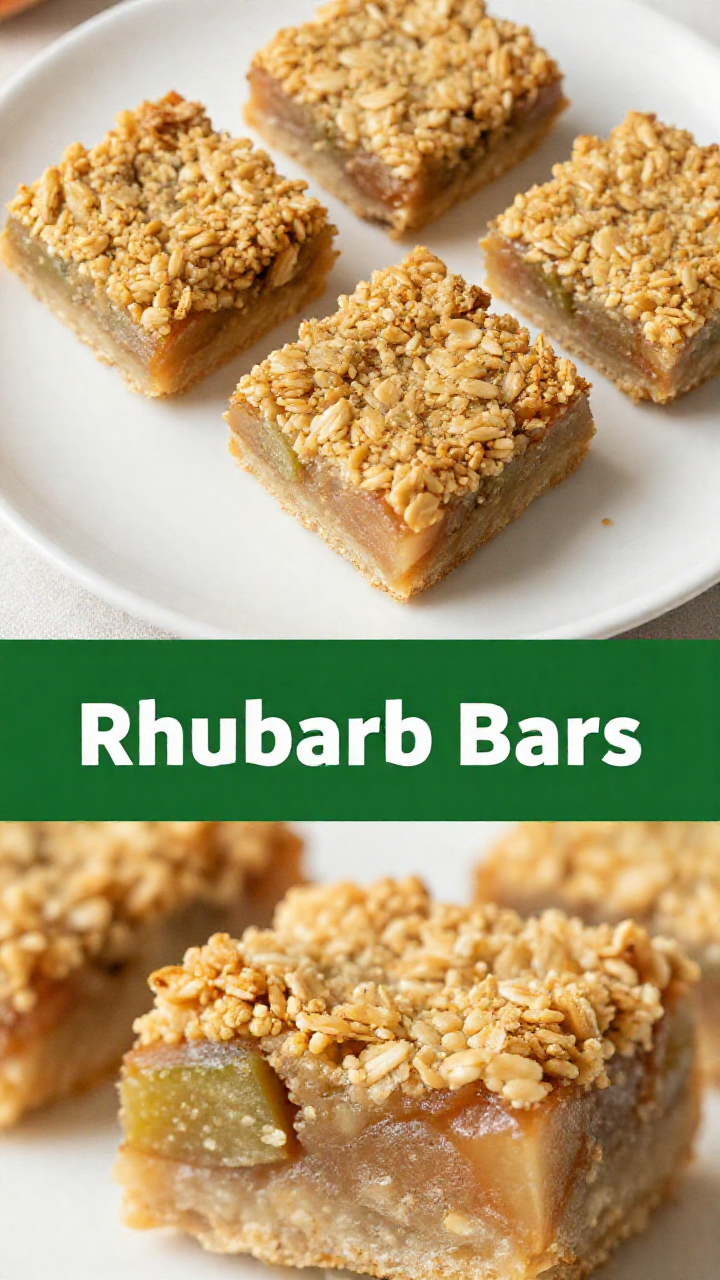
Easy Gluten Free Rhubarb Bars Recipe: A Taste of Spring in Every Bite
Hello, dear friends. Today, let’s step into the kitchen together and create something truly special: Easy Gluten Free Rhubarb Bars. These bars are more than just a dessert; they’re a celebration of spring, a burst of tangy sweetness that dances on your tongue. Imagine the warmth of the oven, the comforting aroma filling your home, and the simple joy of sharing a homemade treat with those you love. This recipe is a little piece of my heart, and I’m so excited to share it with you.
Why You’ll Love These Gluten Free Rhubarb Bars
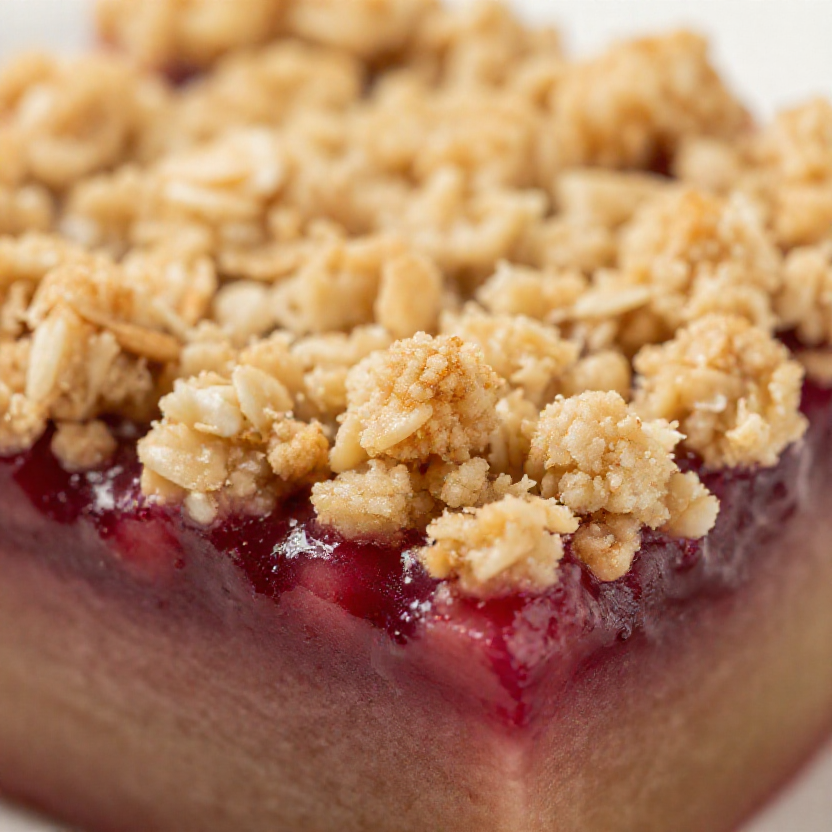
There’s something magical about rhubarb, isn’t there? Its vibrant pink stalks and tart flavor bring a unique twist to desserts. These gluten free rhubarb bars capture that magic perfectly. The crust is crumbly and buttery (even without the butter!), the filling is a delightful mix of tart rhubarb and sweet raspberries, and the whole thing is incredibly easy to make. Here’s why you’ll fall in love:
- Gluten-Free Goodness: Perfect for those with dietary restrictions, these bars are completely gluten-free without sacrificing flavor or texture.
- Simple Ingredients: You probably already have most of these ingredients in your pantry.
- Easy to Make: No complicated techniques or fancy equipment required. This recipe is perfect for beginner bakers.
- Deliciously Tart and Sweet: The combination of rhubarb and raspberries creates a flavor explosion that’s both refreshing and satisfying.
- Perfect for Any Occasion: Whether it’s a casual brunch, a picnic in the park, or a simple dessert after dinner, these bars are always a hit.
Ingredients for Your Gluten Free Rhubarb Bars
Before we begin, let’s gather our ingredients. Each one plays a vital role in creating the perfect balance of flavors and textures. Here’s what you’ll need:
- 3/4 cup old-fashioned oats, gluten-free (80 grams)
- 1 cup oat flour (100 grams)
- 1/2 cup packed brown sugar
- 1 tablespoon tapioca starch (or cornstarch)
- 1 1/4 teaspoons baking powder
- 1/4 teaspoon sea salt
- 1/4 teaspoon ground cinnamon
- 1/2 cup melted vegetable shortening (such as nutiva coconut/palm oil spread, or butter)
- 1 1/4 cups raspberry rhubarb compote
- 2 cups chopped rhubarb, frozen or fresh (225 grams)
- 1 1/4 cups raspberries, organic and frozen or fresh (170 grams)
- 1/3 cup plus 1 tablespoon raw cane sugar
- Zest and juice of one lemon
- 3 teaspoons cornstarch or tapioca starch
- 1/2 teaspoon vanilla essence
Making Your Gluten Free Rhubarb Bars: A Step-by-Step Guide
Now for the fun part! Let’s walk through the steps of creating these delicious gluten free rhubarb bars. Remember, baking is a journey, not a race. Take your time, enjoy the process, and don’t be afraid to experiment.
-
Preheat and Prep: Preheat your oven to 375°F (190°C). Line an 8×8 inch baking pan with parchment paper, leaving an overhang for easy removal. This is important for preventing the bars from sticking. The parchment paper will also help you lift the bars out easily once they’re cooled.
-
Make the Crust: In a large bowl, combine the gluten-free oats, oat flour, brown sugar, tapioca starch, baking powder, sea salt, and cinnamon. Add the melted vegetable shortening and mix until the mixture resembles coarse crumbs. If you are using your hands, gently rub the shortening into the dry ingredients.
-
Press the Crust: Press about two-thirds of the crumb mixture into the prepared baking pan to form the crust. You can use the back of a spoon or your fingers to create an even layer. Make sure the crust is firmly packed. For about half the baking time, the crust will be blind-baked. This helps it crisp up and prevents it from becoming soggy. Bake the crust for about 10 minutes, or until lightly golden.
-
Prepare the Rhubarb Filling: While the crust is baking, prepare the rhubarb filling. In a medium bowl, combine the chopped rhubarb, raspberries, raw cane sugar, lemon zest, lemon juice, cornstarch or tapioca starch, and vanilla essence. Mix well to ensure the rhubarb and raspberries are evenly coated. The cornstarch or tapioca starch will help thicken the filling as it bakes.
-
Assemble and Bake: Pour the rhubarb filling over the pre-baked crust. Sprinkle the remaining crumb mixture evenly over the filling. Bake for about 30-35 minutes, or until the topping is golden brown and the filling is bubbly. The baking time may vary depending on your oven, so keep an eye on it.
-
Cool and Cut: Let the bars cool completely in the pan before cutting. This will allow the filling to set and prevent the bars from falling apart. Once cooled, lift the bars out of the pan using the parchment paper overhang and cut into squares. These bars are best enjoyed at room temperature or chilled.
Pro Tips for Perfect Gluten Free Rhubarb Bars
Here are a few extra tips to ensure your gluten free rhubarb bars turn out perfectly every time:
- Use High-Quality Ingredients: The better the ingredients, the better the bars will taste. Choose fresh, ripe rhubarb and raspberries for the best flavor.
- Don’t Overmix the Crust: Overmixing can result in a tough crust. Mix until just combined.
- Adjust Sweetness to Taste: If you prefer a sweeter bar, add a little more sugar to the filling. If you like it tart, reduce the sugar slightly.
- Use Frozen Fruit: If you’re using frozen rhubarb or raspberries, there’s no need to thaw them first. Just add them directly to the filling.
- Let Them Cool Completely: This is crucial for preventing the bars from falling apart. Be patient and let them cool completely before cutting.
Common Mistakes to Avoid
Even the simplest recipes can have a few pitfalls. Here are some common mistakes to avoid when making these gluten free rhubarb bars:
- Not Measuring Ingredients Accurately: Baking is a science, so accurate measurements are essential. Use measuring cups and spoons, and level them off carefully.
- Overbaking the Bars: Overbaking can result in a dry, tough crust. Keep an eye on the bars and remove them from the oven when the topping is golden brown and the filling is bubbly.
- Cutting the Bars Too Soon: Cutting the bars while they’re still warm can cause them to fall apart. Let them cool completely before cutting.
- Skipping the Parchment Paper: Parchment paper makes it much easier to remove the bars from the pan. Don’t skip this step!
Variations to Try
Want to add your own personal touch to these gluten free rhubarb bars? Here are a few variations to try:
- Strawberry Rhubarb Bars: Replace half of the raspberries with sliced strawberries for a classic combination.
- Ginger Rhubarb Bars: Add 1 teaspoon of ground ginger to the crust mixture for a warm, spicy twist.
- Almond Rhubarb Bars: Add 1/4 cup of sliced almonds to the topping for added crunch and flavor.
- Lemon Rhubarb Bars: Increase the lemon zest to 1 tablespoon for an extra burst of citrus flavor.
Storing Your Gluten Free Rhubarb Bars
These gluten free rhubarb bars are best enjoyed fresh, but they can also be stored for later. Here’s how:
- Room Temperature: Store the bars in an airtight container at room temperature for up to 2 days.
- Refrigerator: Store the bars in an airtight container in the refrigerator for up to 5 days.
- Freezer: For longer storage, wrap the bars individually in plastic wrap and store them in a freezer-safe bag or container for up to 2 months. Let them thaw completely before serving.
Frequently Asked Questions (FAQ)
Here are some common questions about making gluten free rhubarb bars:
- Can I use regular flour instead of oat flour? While this recipe is designed for gluten-free baking, you can substitute all-purpose flour for the oat flour if you don’t need it to be gluten-free.
- Can I use butter instead of vegetable shortening? Yes, you can use melted butter instead of vegetable shortening. The flavor will be slightly different, but still delicious.
- Can I use a different type of fruit in the filling? Absolutely! Feel free to experiment with other fruits like blueberries, blackberries, or peaches.
- My crust is too crumbly. What did I do wrong? The crust may be too crumbly if you added too much dry ingredients or not enough melted shortening. Make sure to measure accurately and adjust as needed.
- My filling is too runny. How can I fix it? If the filling is too runny, try adding a little more cornstarch or tapioca starch to thicken it up.
Serving Suggestions
These gluten free rhubarb bars are delicious on their own, but here are a few serving suggestions to elevate your experience:
- Warm with a Scoop of Ice Cream: Serve the bars warm with a scoop of vanilla ice cream for a decadent dessert.
- With a Dollop of Whipped Cream: Top the bars with a dollop of freshly whipped cream for a light and airy treat.
- With a Cup of Tea or Coffee: Enjoy the bars with a warm cup of tea or coffee for a cozy afternoon snack.
- As Part of a Brunch Spread: Include the bars as part of a brunch spread for a sweet and tangy addition.
And there you have it, my friends: Easy Gluten Free Rhubarb Bars that are sure to bring a little bit of sunshine into your day. I hope you enjoy making and sharing these bars as much as I do. Happy baking!

Easy Gluten Free Rhubarb Bars
Ingredients
Notes